
 Caterpillar
  Cummins
  Duramax (Chevy/GMC)
  Ford Power Stroke
 Acura
Acura Chrysler
 Honda
Honda Jaguar Land Rover
 Jeep
Jeep Mazda
Mazda Mini Cooper
 Mitsubishi
 Nissan
 Polaris
 Subaru
 Toyota



What drivers say about XOTIC PERFORMANCE™

Main Stud Kit - 1999-2015 4.8-6.2L Chevy Gen III/IV LS Series Small Block
PART # SKU MS334

Verified Reviews
Original price
$205.60
-
Original price
$205.60
Original price
$205.60
$205.60
-
$205.60
Current price
$205.60
Availability:
in stock, ready to be shipped

Limited Lifetime Warranty on All Fasteners

Trusted in 30,000+ Builds

30-Day Satisfaction Guarantee

Free Shipping on Orders $100+
These are main studs, not head studs. Main and head studs serve different purposes—selecting the right one is crucial.
Why Main Studs?
Main studs provide superior clamping force compared to main bolts, reducing wear on block threads and assisting with main cap alignment. Unlike bolts, which twist during tightening, studs remain stationary, reducing the chance of main cap walking under high loads. They are especially beneficial in high-performance applications where increased stability and durability are required.
Disclaimer: Designed to secure crankshaft main bearing caps. This is NOT a head stud kit.
INSTALL GUIDE
This guide covers installation of the XOTIC PERFORMANCE™ MS334 main stud kit for the Chevrolet Gen III/IV LS small block — LS1, LS2, LS3, LS4, LS6, LQ4, LQ9, LY6, L92 and L99. Prefer a printable copy? Download the PDF manual.
Four different torque values in one kit — sort before you start. The inner studs measure 4.77" and finish at 60 ft-lbs; the outer studs measure 4.55" and finish at 50. The M8 12-point side bolts go to 20 ft-lbs and the windage tray nuts to 28. Measure the studs, separate them into two piles, and keep the four tables below in front of you.
Why an LS needs main studs
The LS deep-skirt block with six-bolt main caps is the reason the platform makes the power it does on stock internals — but "stock internals" stops being the plan the moment a turbo or a blower goes on. A boosted LS puts cylinder pressures through the rod and into the main cap that the factory bolts were never specified around, and the side bolts that tie the caps into the skirt are carrying lateral load at the same time.
Main cap fasteners are what keep the crankshaft bearing bores round and located under all of that. Studs do it better than bolts for a structural reason: a bolt is torqued into the block, so it twists and stretches at the same time, while a stud is threaded in finger-tight and stays still while the nut is torqued against it — loading the stud in pure tension. That gives more consistent, more accurate preload, the tensile force in the fastener that becomes clamp force in the joint, and preload is what prevents cap walk and bore distortion. XOTIC PERFORMANCE™ main studs are manufactured from our premium XOTIC 7200 steel alloy and backed by a lifetime warranty.
What's in the MS334 kit
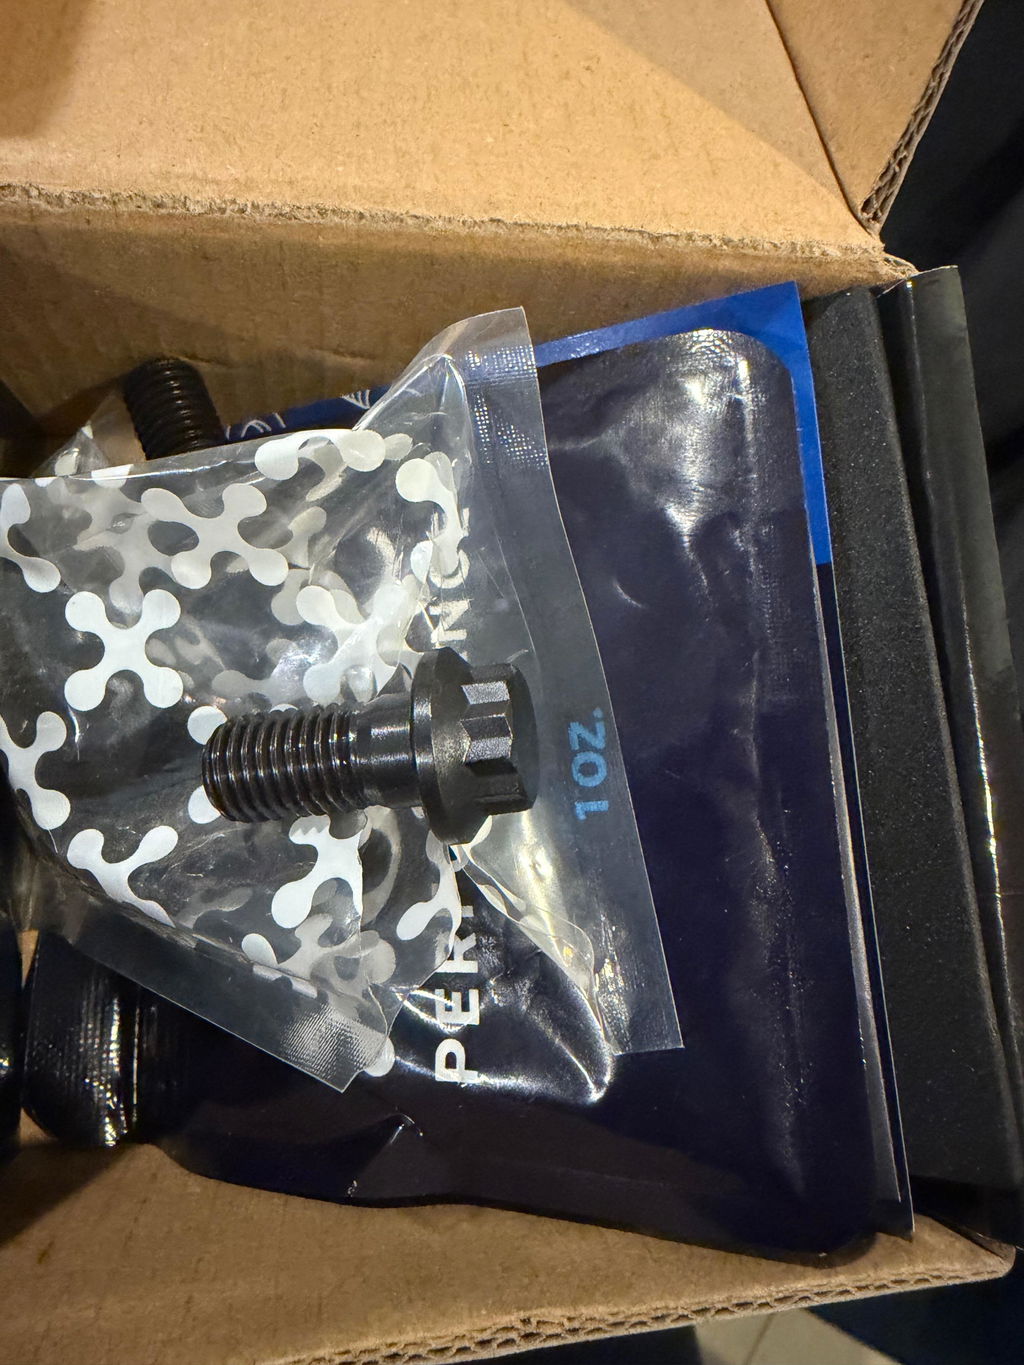
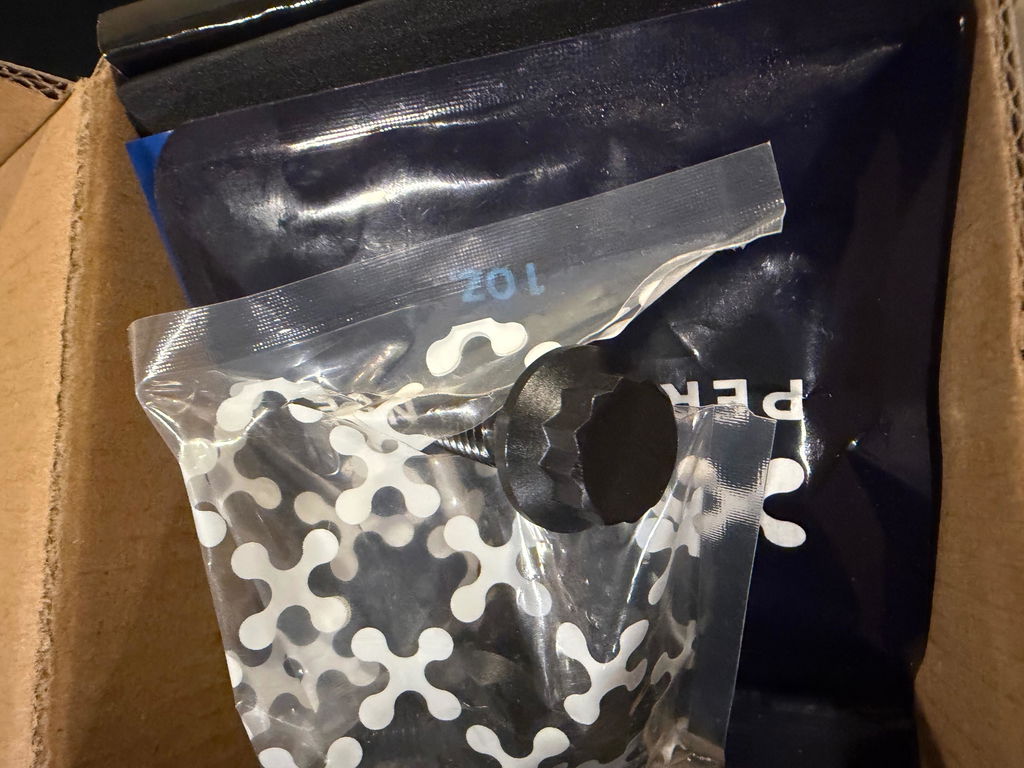
- 20 × main studs (XOTIC 7200 alloy) — 4.77" inner and 4.55" outer
- 10 × M8 side bolts
- 30 × nuts
- 2 × sockets
- 1 × allen wrench
- 1 × fastener assembly lubricant
Before you start: verify first
Confirm that part number MS334 is compatible with your application before installing any components. Inspect all package contents for damage and clean as necessary to ensure accurate installation. Measure and separate the 4.77" and 4.55" studs now — they take different torque values, so mixing them up costs you more than a bit of time. Report any obvious defects or shipping damage to us before proceeding.
How to install main studs on a Chevrolet LS
- Chase the block threads. Clean the threads in the block with a thread chaser prior to installing the studs, to ensure accurate fitment and precise torque readings. Chase the side bolt holes as well as the vertical mains.
- Thread the studs in by hand. Screw the main studs in as tight as can be made by hand, with the 4.77" studs inboard and the 4.55" studs outboard. No tool is necessary and do not apply torque. Loctite may be used for permanent stud installation, but the fasteners must be fully torqued before the Loctite sets.
- Check stud height with a straightedge. Use a straightedge ruler to measure the distance from the mating surface (deck or main cap) to the top of each installed stud. Ensure all studs of the same length group sit level with each other (within 1 mm / 0.040”). Uneven height may indicate debris or incorrect thread engagement. Properly installed studs will bottom out smoothly and show uniform height across all positions. If a stud appears higher or lower than the others, remove it, re-clean the hole, and reinstall by hand. Do not use tools to force studs deeper. Incorrect stud seating can cause off-angle stress, uneven preload, or stud fracture during engine operation.
- Install the main caps. Set the caps in place and ensure appropriate alignment before any load goes on them.
- Lubricate. Using the fastener assembly lubricant included in the package, lubricate the threads of the main studs and the nuts.
- Hand-tighten the nuts. Thread the nuts onto the studs as tight as can be made by hand.
- Torque in three equal steps. Working in the numbered sequence shown in the manual's torque diagram, bring each group to its final value in three equal steps.
- Check the bores. Check the main bearing bores for size and roundness. An align hone using the final assembly fasteners and lubricant, at the specified torque, is recommended if the geometry has moved.
Chevrolet LS main stud torque specs
| Fastener | Final torque |
|---|---|
| Inner studs (4.77") | 60 ft-lbs |
| Outer studs (4.55") | 50 ft-lbs |
| M8 12-point side bolts | 20 ft-lbs |
| Windage tray nuts | 28 ft-lbs |

Every value is reached in three equal steps across the full sequence — not one fastener at a time to final torque.
A common mistake to avoid: when torquing a fastener, do not stop short of the recommended value — continue in one motion until the specified torque is achieved. If you accidentally stop short, loosen the fastener and re-torque. Stopping short and "topping up" produces unequal preload distribution across the caps and can leave a bore out of round.
Frequently asked questions
What are the main stud torque specs for an LS?
Inner studs (4.77") to 60 ft-lbs, outer studs (4.55") to 50 ft-lbs, M8 12-point side bolts to 20 ft-lbs, and windage tray nuts to 28 ft-lbs — all in three equal steps.
Which LS engines does MS334 cover?
Gen III and Gen IV small blocks from 4.8L to 6.2L, including LS1, LS2, LS3, LS4, LS6, LQ4, LQ9, LY6, L92 and L99.
How do I tell the inner studs from the outer ones?
Length. The inners are 4.77" and the outers are 4.55". Measure rather than eyeballing — the difference is about a fifth of an inch and easy to miss in a pile.
Do I need to align hone after installing main studs?
Check first. Measure the main bores for size and roundness once everything is torqued. If a hone is needed, do it with the same fasteners and lubricant you'll use at final assembly, at the specified torque.
Building the whole LS?
See our LS head stud guide (CP883), the LS head bolt guide (XP981), and the LS flexplate bolt guide (XP983).
Need help?
For technical support, email support@xotic-performance.com. All XOTIC PERFORMANCE™ fasteners are covered by our limited lifetime warranty. Finished your install? Tag #XOTICPERFORMANCE on Instagram for a chance to be featured.
© 2026 XOTIC PERFORMANCE™. This installation guide is an original copyrighted work of XOTIC PERFORMANCE™. Reproduction, distribution, or use of this content in whole or in part without written permission is prohibited. Doc ref: 2025.05.21 (web edition 2026.08).
PACKAGE CONTENTS
VEHICLE FITMENTS
⚠️ PROP 65 WARNING
CALIFORNIA WARNING: Cancer and Reproductive Harm - www.P65Warnings.ca.gov